

As a reputable supplier of Die Transfer Carts, I understand the importance of maintaining and replacing parts to ensure the smooth and efficient operation of these vital industrial tools. In this blog post, I will guide you through the process of replacing the parts of a Die Transfer Cart, offering practical tips and insights based on our extensive experience in the field.
Understanding the Die Transfer Cart
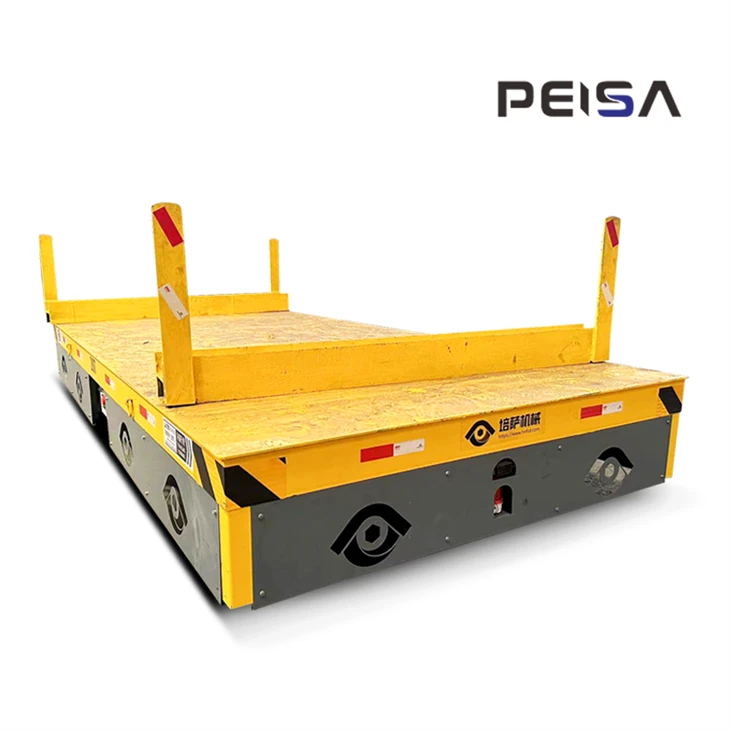
Before delving into the part replacement process, it's essential to have a basic understanding of what a Die Transfer Cart is and its components. A Die Transfer Cart is designed to transport heavy dies, molds, and other large components within a manufacturing facility. These carts are available in various types, such as manual, motorized, and electric-powered models. For instance, the Motorized Transfer Trolley and Electric Mold Transfer Cart offer enhanced mobility and efficiency compared to manual carts.
The typical components of a Die Transfer Cart include the frame, wheels, drive system (motor, gearbox, etc.), brakes, and control system. Each part plays a crucial role in the cart's performance, and regular inspection and replacement are necessary to prevent breakdowns and ensure safety.
Pre - replacement Preparation
Safety First
Safety should always be the top priority when working on a Die Transfer Cart. Before starting any part replacement, ensure that the cart is powered off, especially for electric models. If there are any battery - powered carts, disconnect the battery to prevent accidental startup. Use appropriate personal protective equipment (PPE), such as safety glasses, gloves, and steel - toe boots.
Gather Necessary Tools
Depending on the part you need to replace, the tools required may vary. Common tools include wrenches, screwdrivers (both flat - head and Phillips), pliers, and a jack if you need to lift the cart for wheel or drive - system replacement. Make sure all tools are in good condition and of the correct size for the job.
Identify the Part
Accurately identify the part that needs replacement. Refer to the cart's user manual or parts diagram if available. Taking clear photos of the existing part and its installation location can also be helpful, especially if you need to order a replacement part.
Step - by - Step Part Replacement Process
Wheel Replacement
The wheels of a Die Transfer Cart are subjected to a lot of wear and tear, especially if the cart is used frequently or on rough surfaces. Here's how to replace them:
- Lift the Cart: Use a jack to lift the cart at a stable point near the wheel that needs replacement. Make sure the cart is securely supported before proceeding.
- Remove the Wheel: Loosen the nuts or bolts that hold the wheel in place using the appropriate wrench. Carefully pull the wheel off the axle.
- Inspect the Axle: While the wheel is off, inspect the axle for any signs of damage or wear. If necessary, clean the axle with a wire brush to ensure a smooth fit for the new wheel.
- Install the New Wheel: Place the new wheel on the axle and align the holes for the nuts or bolts. Tighten the nuts or bolts securely, but be careful not to over - tighten.
- Lower the Cart: Slowly lower the cart using the jack, making sure the wheel is in contact with the ground and the cart is stable.
Motor and Gearbox Replacement
The motor and gearbox are the heart of the drive system in a powered Die Transfer Cart. Here's the process for replacement:
- Disconnect Electrical Connections: For an Electric Mold Transfer Cart, carefully disconnect all electrical connections to the motor, following the proper electrical safety procedures. Label the wires to ensure correct re - connection later.
- Remove the Mounting Bolts: Locate and remove the mounting bolts that secure the motor and gearbox to the cart's frame. Note the position of any shims or spacers.
- Remove the Motor and Gearbox Assembly: Lift the motor and gearbox assembly out of the cart. This may require some assistance due to the weight.
- Install the New Assembly: Place the new motor and gearbox assembly in the correct position, aligning the mounting holes. Re - install the mounting bolts and tighten them to the specified torque.
- Re - connect Electrical Connections: Connect the electrical wires to the new motor according to the labels you made earlier. Double - check all connections to ensure they are secure.
Brake Replacement
The brakes are essential for the safety of the Die Transfer Cart. Here's how to replace them:
- Access the Brake Assembly: Depending on the cart's design, you may need to remove a cover or panel to access the brake assembly.
- Remove the Old Brake Pads or Shoes: Loosen the retaining clips or bolts and remove the old brake pads or shoes.
- Inspect the Brake Caliper or Drum: Check the brake caliper or drum for any signs of damage, such as scoring or excessive wear. If necessary, clean or replace the caliper or drum.
- Install the New Brake Pads or Shoes: Place the new brake pads or shoes in the correct position and secure them with the retaining clips or bolts.
- Adjust the Brakes: After installation, adjust the brakes to ensure proper operation. This may involve adjusting the brake cable or hydraulic system, depending on the type of brakes.
Post - replacement Checks
After replacing a part on the Die Transfer Cart, it's crucial to perform a series of checks to ensure everything is working correctly.
- Visual Inspection: Check that all parts are properly installed and tightened. Look for any loose wires, bolts, or other components.
- Function Test: Power on the cart (if applicable) and test the function of the replaced part. For example, if you replaced the wheels, check that the cart rolls smoothly. If you replaced the brakes, test the braking action.
- Load Test: If possible, perform a light load test to ensure the cart can handle the normal workload. Observe the cart's performance under load and listen for any unusual noises.
Ordering Replacement Parts
As a Die Transfer Cart supplier, we offer a wide range of high - quality replacement parts for our products. If you need to order replacement parts, simply contact our customer service team. We will assist you in identifying the correct part and processing your order quickly and efficiently. Our parts are designed to meet the highest standards of quality and compatibility, ensuring a perfect fit for your Die Transfer Cart.
Conclusion
Replacing the parts of a Die Transfer Cart is a task that requires careful preparation, the right tools, and a good understanding of the process. By following the steps outlined in this blog post, you can ensure that your cart remains in optimal working condition, minimizing downtime and maximizing productivity.

If you have any questions or need further assistance with your Die Transfer Cart, including part replacement, installation, or maintenance, please don't hesitate to contact us. Our team of experts is always ready to help you make the best decisions for your industrial material handling needs.
References
- Manufacturer's user manuals for Die Transfer Carts
- Industry standards for industrial cart maintenance and repair